Essentials Photography
Esentials 10: Photography is more than Technology
28/06/13 17:20

It is wonderful to have a fantastic camera equipment and getting it for special trips like photographic safaris, wildlife photography courses and team building photographic safaris is really great, but there is more to photography than technology.
Just like with computers the camera gear is only as good as the person using it. Get to know your camera, practice a lot and train your eye. Your camera does not see for you, unless you want automated images, but are they then yours? Learn to see, compose and work with light and your camera will capture your art for you.
Happy snapping!
Ute Sonnenberg for www.rohoyachui.com
Essentials 9: Travel Light
27/06/13 17:19

Going on fly-in photographic safaris, team building photographic safaris and wildlife photography courses makes one thing much easier, travelling light. The safari flights have a baggage allowance of 15 kg for the entire baggage including hand luggage and photo equipment. This might cause immediately a shock to the owners of beautiful fixed 400mm and 500mm lenses, but it actually helps making your live easier.
Travelling with too much photo gear can limit you in your flexibility and not only on game drives. When you walk through Paris, you don’t want to carry lots of equipment with you. You would be too exhausted to focus on the actual photography.
Travel light, only take what you really need. Free yourself.
Happy travelling!
Ute Sonnenberg for www.rohoyachui.com
Essentials 8: Its Often You and Not the Gear
26/06/13 17:18
Who hasn’t experienced it, that getting angry at a thing like a computer, car or hairdryer only to end up damaging an innocent item and getting even more frustrated.
That happens on photographic safaris, wildlife photography courses, team building photographic safaris, wedding photo shoots, family occasion shoots and all other photographic opportunities all the time. Mostly all with the same essence, it was not the gear, it was the photographer.
When such a situations occurs, make a step back, and if it is only imaginary, look at the situation from the distance and start seeing the solution. It will be healthier for the camera gear and yourself and the images will be just stunning.
Happy snapping!
Ute Sonnenberg for www.rohoyachui.com
Essentials 7: Do Not Erase Too Quickly
25/06/13 17:17
It is a reoccurring sight on photographic safaris, team building photographic safaris and wildlife photography courses that guests do a big clean up of their images immediately when they are back at the lodge, or even when being still on the vehicle.
Sounds familiar? Stop yourself doing that. In the first place the images shown on the screen of the camera are poor quality and the screen is too small to get a good impression. Second, you might think you don’t like the image right now, but it might be exactly the image you’ll need for a photo book in the future.
Do not erase too quickly. It depends very much on the situation and the purpose, if the image is suitable or not.
Happy snapping!
Ute Sonnenberg for www.rohoyachui.com
Essentials 6: Find Your Preferred Setting Tool
24/06/13 17:15

Many of the smaller cameras and the SLR cameras offer the choice between M for manual, A for aperture priority, S (or T) for shutter speed priority and P for (programmed or) ISO priority. The guests on photographic safaris, wildlife photography courses and team building photographic safaris often ask which of them they should use for which situation. The answer is, that it depends on what suits the user the most, on which what can the user connect the best.
We can all drive a car (at least almost all), but we prefer different ways of driving. One is good in off road driving, another good in driving in sand and again another good in driving on race circuits. It depends on talent, skills and preferences of the driver.
It’s the same with the camera settings. Some can work best with shutter speed and others work great with aperture. Find out where your strength lies and choose the manual setting that suits you best.
Happy snapping!
Ute Sonnenberg for www.rohoyachui.com
Essentials 5: Your Camera Manual Does Not Teach Photography
21/06/13 17:08

Many guests on wildlife photography courses, team building photographic safaris and photographic safaris complain that they don’t understand the manual of their camera and that they refuse using it.
The not understanding often comes from a misunderstanding what a camera manual is. A camera manual assumes that the user knows what aperture, shutter speed and ISO are and how they interact. So, the manual is using these terms in order to explain the camera functions and buttons, but does not explain them. And there it goes wrong for many guests. It feels like reading Chinese.
To avoid that just look up the photography terms on the Internet, to understand what they are about and then enjoy the manual.
Happy snapping!
Ute Sonnenberg for www.rohoyachui.com
Essentials 4: Have Your own Default Setting
20/06/13 17:07

It often happens when we are on photographic safaris, team building photographic safaris and wildlife photography courses that we head out in the morning and some wonder why their photos look so weird. In 99% of the cases the guests had still the settings form the evening before on their camera.
Depending on what kind of photography you do the most, have your default settings you go back to when you had to change them. From there start again to adjust to the new circumstances. Otherwise you might miss great photo opportunities.
Happy snapping!
Ute Sonnenberg for www.rohoyachui.com
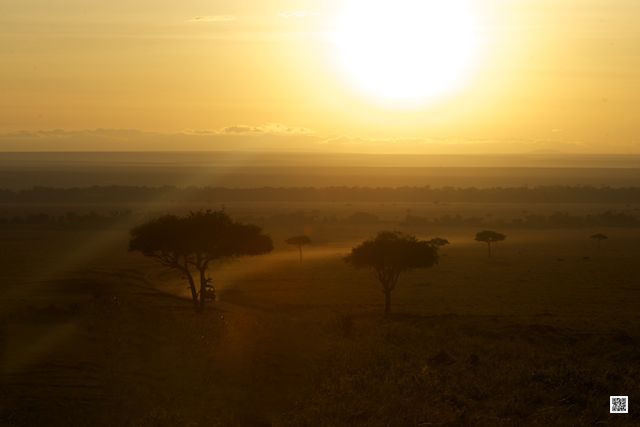
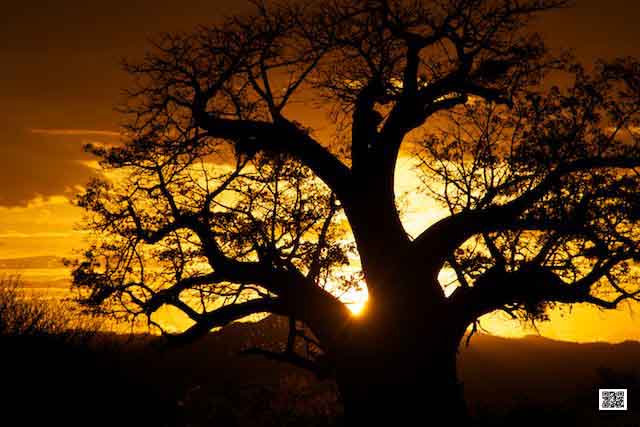
Essentials 3: Connect with the Light
19/06/13 17:06

There is plenty of photography advice available on the Internet including camera settings for several photography situations. Now people look up the settings and start photographing with it, wondering why only a few photographs are good and the rest is not. The answer is simple. The light determines the camera settings and the light is everywhere different and changing by the moment. One got to connect with the light and always keep communicating with it in order to get great images.
Imagine guests on photographic safaris, wildlife photography courses and team building photographic safaris would use settings they found on the internet, posted there by a photographer in new Jersey. The light in New Jersey is different from the light in the Masai Mara and it would just not work.
Happy connecting!
Ute Sonnenberg for www.rohoyachui.com
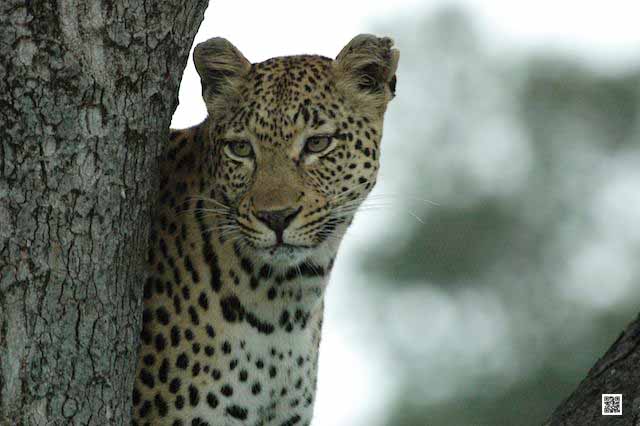
Essentials 2: Work with the Focus Points
18/06/13 17:05
One of the biggest disadvantages of photographing on automatic settings is, that the function “choice of focus point” is not available.
On wildlife photography courses, team building photographic safaris and photographic safaris working with the focus points is essential and practiced a lot. Imagine a lion lying in the grass. The automatic setting will focus on the grass and not on the face of the lion. To get it right you need to choose the focus point yourself and set it on the face of the lion. It needs also some practicing to get used to choose the focus points quickly, but once you got the routine, you will see your photography improving.
This applies of course to all photography.
Happy snapping!
Ute Sonnenberg for www.rohoyachui.com
Essentials 1: Photography is Physical
17/06/13 17:04

Taking photos on photographic safaris, team building photographic safaris, wildlife photography courses and any other occasions or trips require physical efforts of the photographer. Just standing there or even pressing a remote is not enough. Only by getting physically active really involves the photographer in the shoot. Move around to find the right position for the shoot or walk around the subject to find the right angle. Don’t be nailed to the ground, be flexible and active.
Happy snapping!
Ute Sonnenberg for www.rohoyachui.com